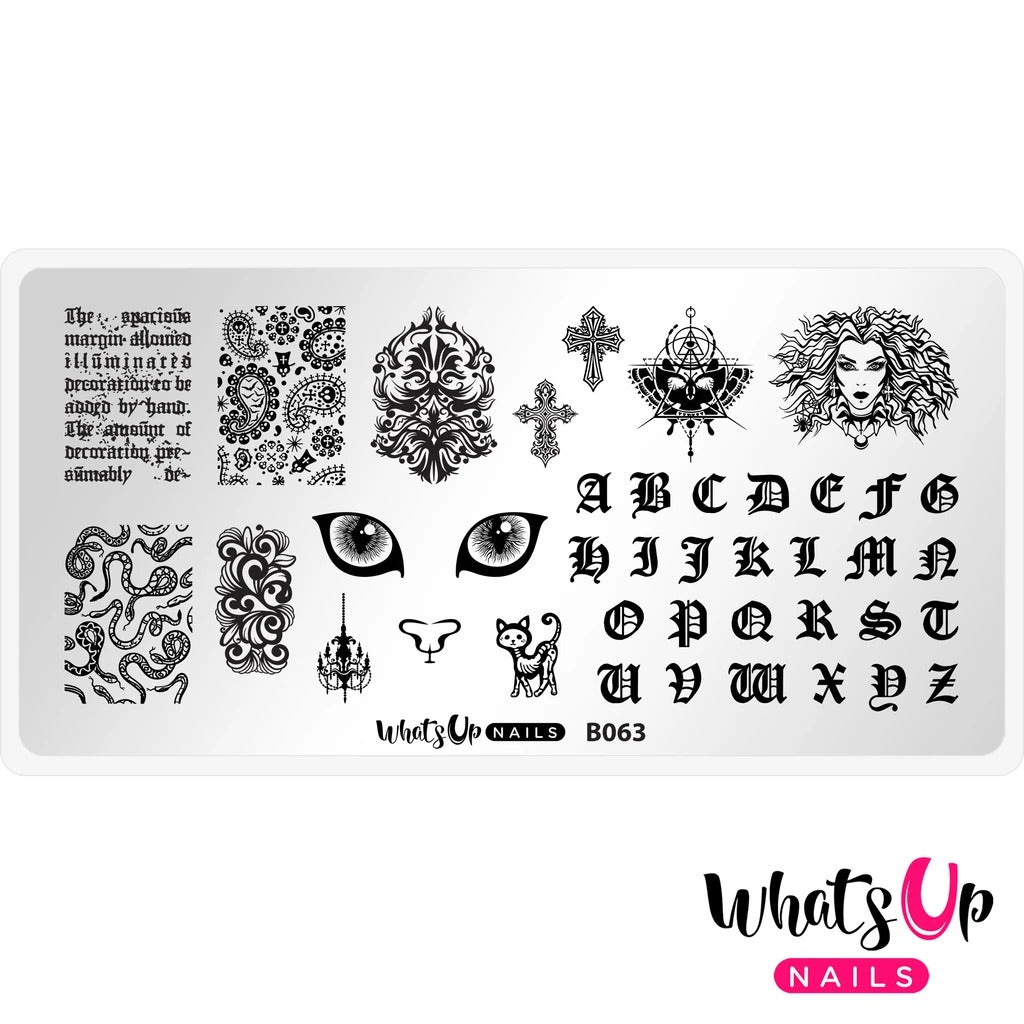
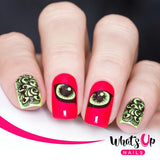
Whats Up Nails Stamping Plate / Goth is the New Black
Sold Out
Product Detail
Plate Size: 2 3/8in (60mm) x 4 3/4in (120mm).
Plate includes 12 images, each design: 5/8in (15mm) on 13/16in (21mm).
Prepping:
1. Clean skin around your nail using a brush dipped in acetone. You can also use peel off tape or just remove nail polish by sticking scotch tape to the skin.
2. You can clean plate using pure acetone and paper towel or cotton pad. If you use non-acetone nail polish remover, you might need to wipe plate with alcohol to remove oily residue.
3. Remove your new stamping plate from its packaging and remove the plastic protective film from over the metal. When you first receive your plate and after every use wipe clean your plate with acetone or non-acetone nail polish remover without oils. Clean your stamper with tape by using the sticky side to remove dry polish.
Application:
1. Quickly apply a thick layer of nail polish in a few strokes over the design. Special stamping polishes are recommended but opaque nail polishes that do not dry very fast also work well. Try another polish if you are not getting the results you want.
2. Hold a plastic card firmly at a 45 degree angle and lightly scrape across the plate to remove excess polish. Scrape only once, do not push card to plate too hard and work quickly to avoid drying.
3. Quickly transfer the design to your stamper by lightly rolling once across the design from one side to the other or pushing once straight into the design.
4. If design does not transfer try: working faster, scraping with less pressure or new angle, priming stamper head (use acetone or gentle nail file/buffer), another opaque nail polish that dries slower.
5. Quickly transfer the image from the stamper onto a nail with an oil-free and completely dry base color. With a squishier stamper push the stamper straight to the nail, with other stamper heads it might work better to roll it once from side to side to transfer image.
6. Remove excess nail polish from your skin and cuticles by using a flat brush or cotton swab dipped in acetone or nail polish remover, you could use tape to lift excess polish from your skin as well.
7. When design is completely dry on your nails, apply a layer of fresh top coat with as few strokes as possible. Place a big drop at the cuticle and hold brush parallel to the nail while applying trying not to touch the nail with the bristles, this helps prevent smearing.
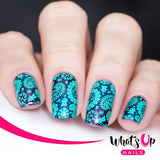
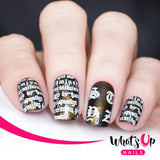
Official swatches by solo_nails

